There have been several times over the years that I have not been able to find the type of piñata I am looking for. Although I’ve made a few piñatas from scratch, it is much easier to retrofit a piñata. All you really need is an existing piñata, some tissue paper, glue, and maybe some additional ribbons. I like using glue sticks instead of liquid glue because it is less messy and dries quickly. You can cover the whole piñata with tissue paper and then glue an image on, or you can create an image or design with the tissue paper.
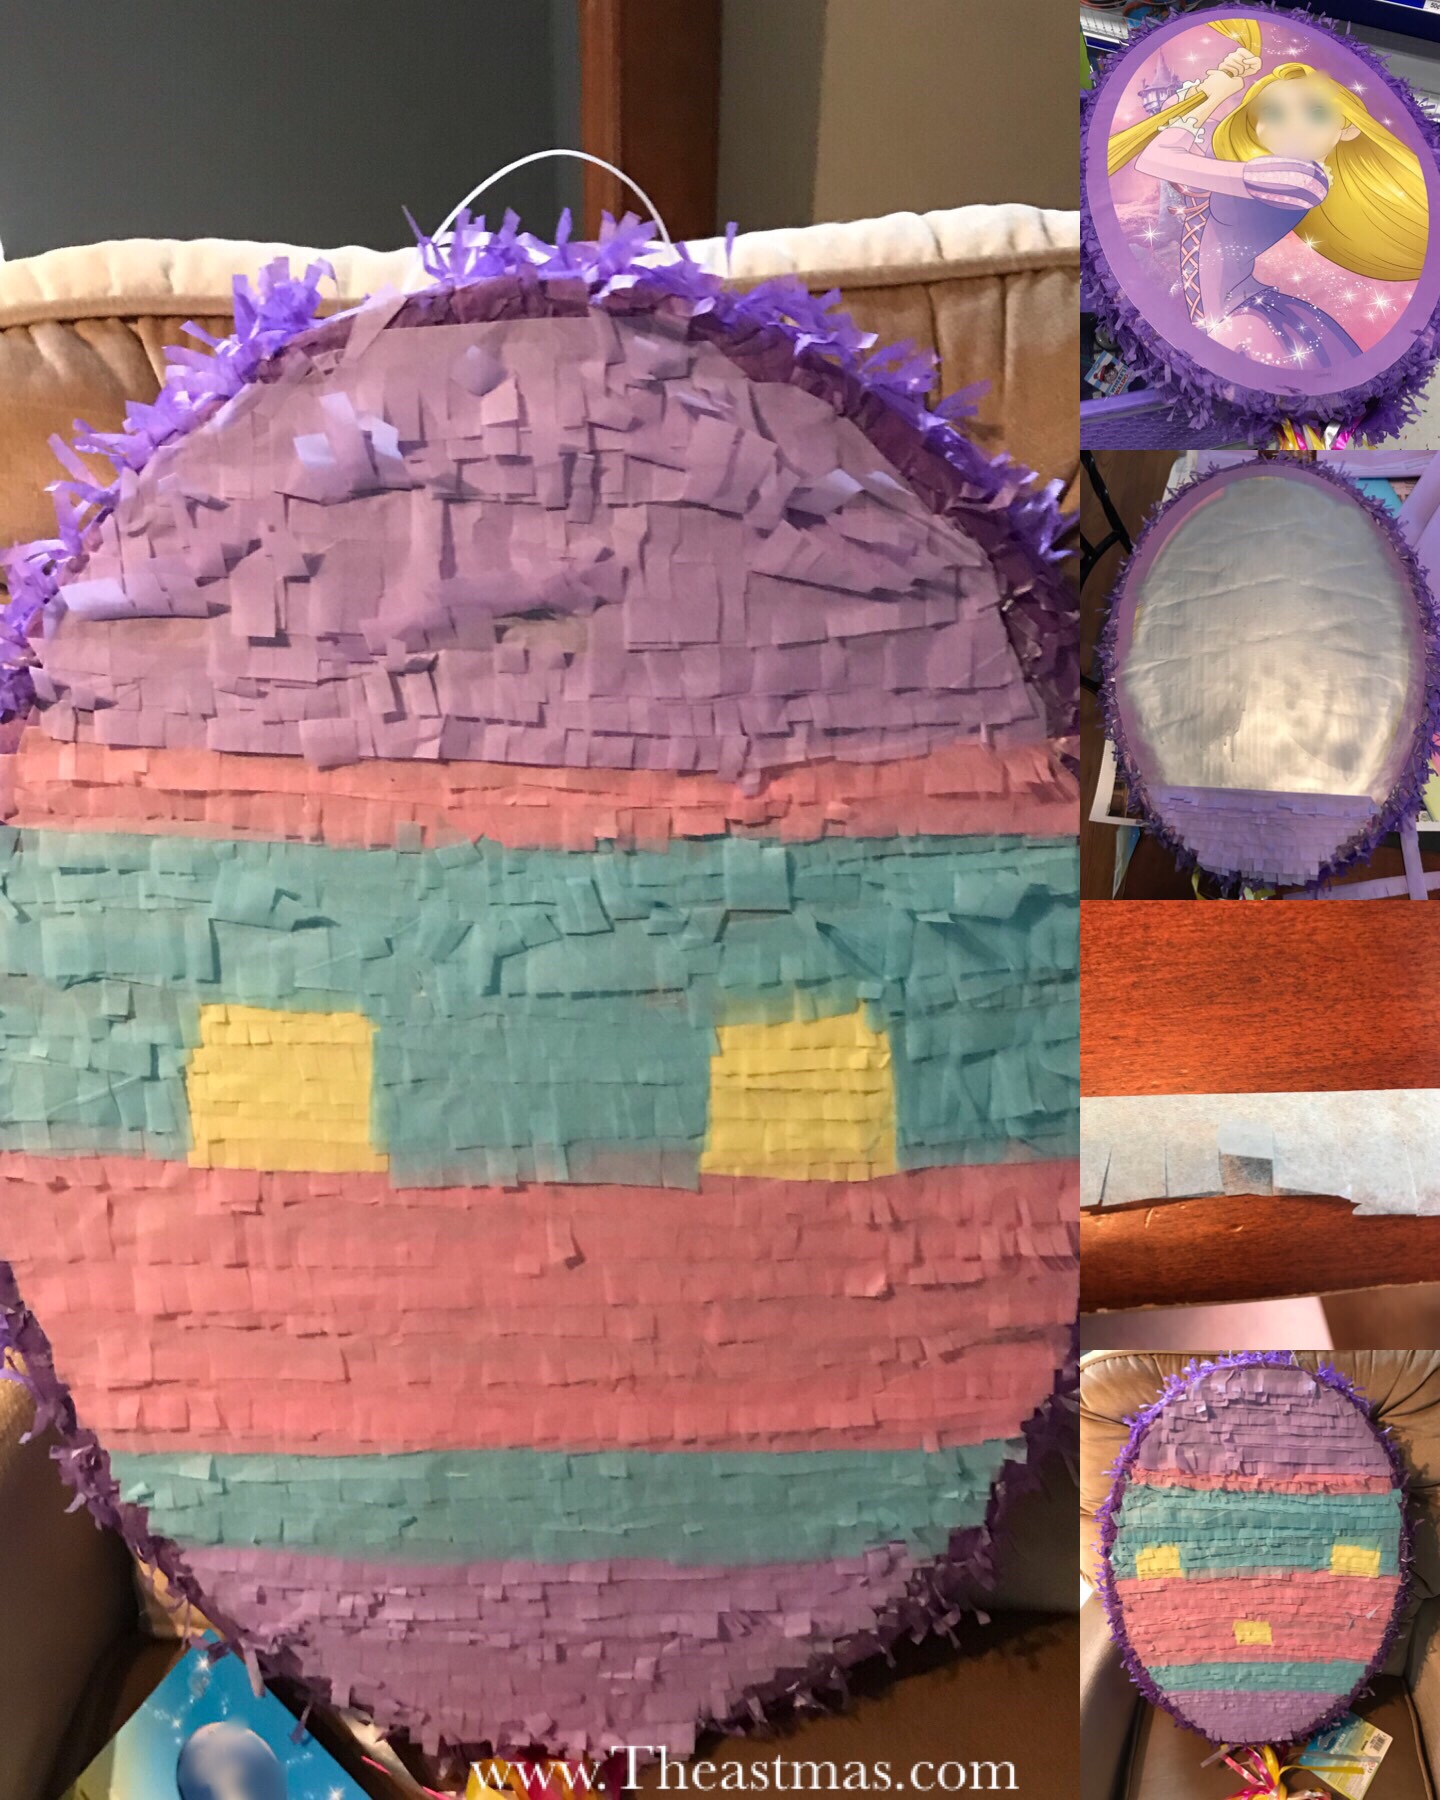
For last year’s Theastmas, the snowman piñata I ordered kept arriving broken on the bottom. I finally decided to go with an Easter egg, but had a hard time finding one. While walking through the party store, I saw an oval princess piñata on sale. The sides were covered in a purple tissue paper, so I thought it would be pretty easy to change into an egg.
After buying some pastel tissue paper, a few new glue sticks, and some ribbon to match the existing pull strings, I brought the piñata home and got started on the design. To make sure the princess picture didn’t show through, I spray painted over the image. Looking back, I’m not sure that I needed to do that step.
With the kids’ help, we created a pile of 2 inch wide strips of tissue paper. We folded each strip in half and then cut notches into the open end of the strips (not the folded edge). I left the strips long and just trimmed and adjusted the length as needed.
Starting at the bottom, I ran a line of glue across the space and laid down the strip of tissue paper. Overlapping a little, I ran another line of glue and added the next strip of tissue paper. I continued this way until the front was finished and then moved onto the back side. Once the back was finished, I added a few more false pull strings to the bottom by hiding and gluing them under the tissue paper. It took me maybe a couple of hours to finish, but we finally had a piñata for Theastmas!